Intercom
Setting up the account
- Go to your organization's Integrations page in Askribe
- From the Handoff to Agent section, click on the + Account button
-
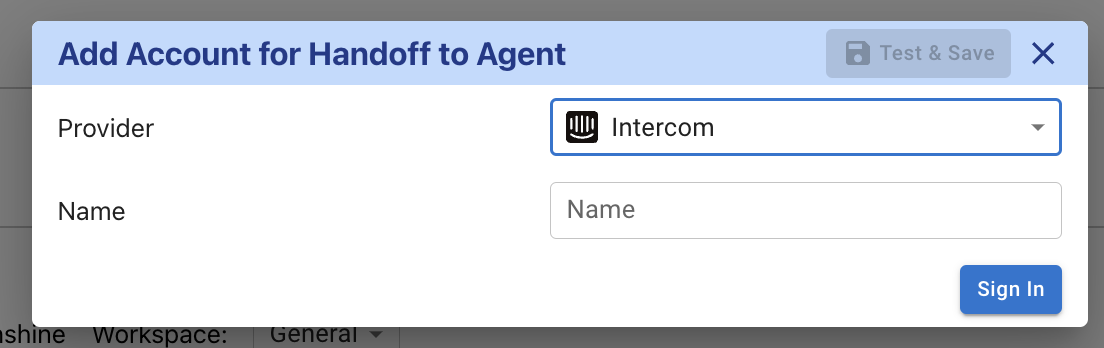
- Give a custom name for your integration and click on Sign In
- You will be redirected to Intercom to authorize the connection
- Once you have authorized the connection, you will be redirected back to Askribe. Click on Save
- Select the workspace where you want to use this integration
- Click on Save
- That's it! You have successfully connected your Intercom account to Askribe. Now you can use this integration in the Handoff to Agent block in your Conversational flows.
Handing the conversation back to Askribe
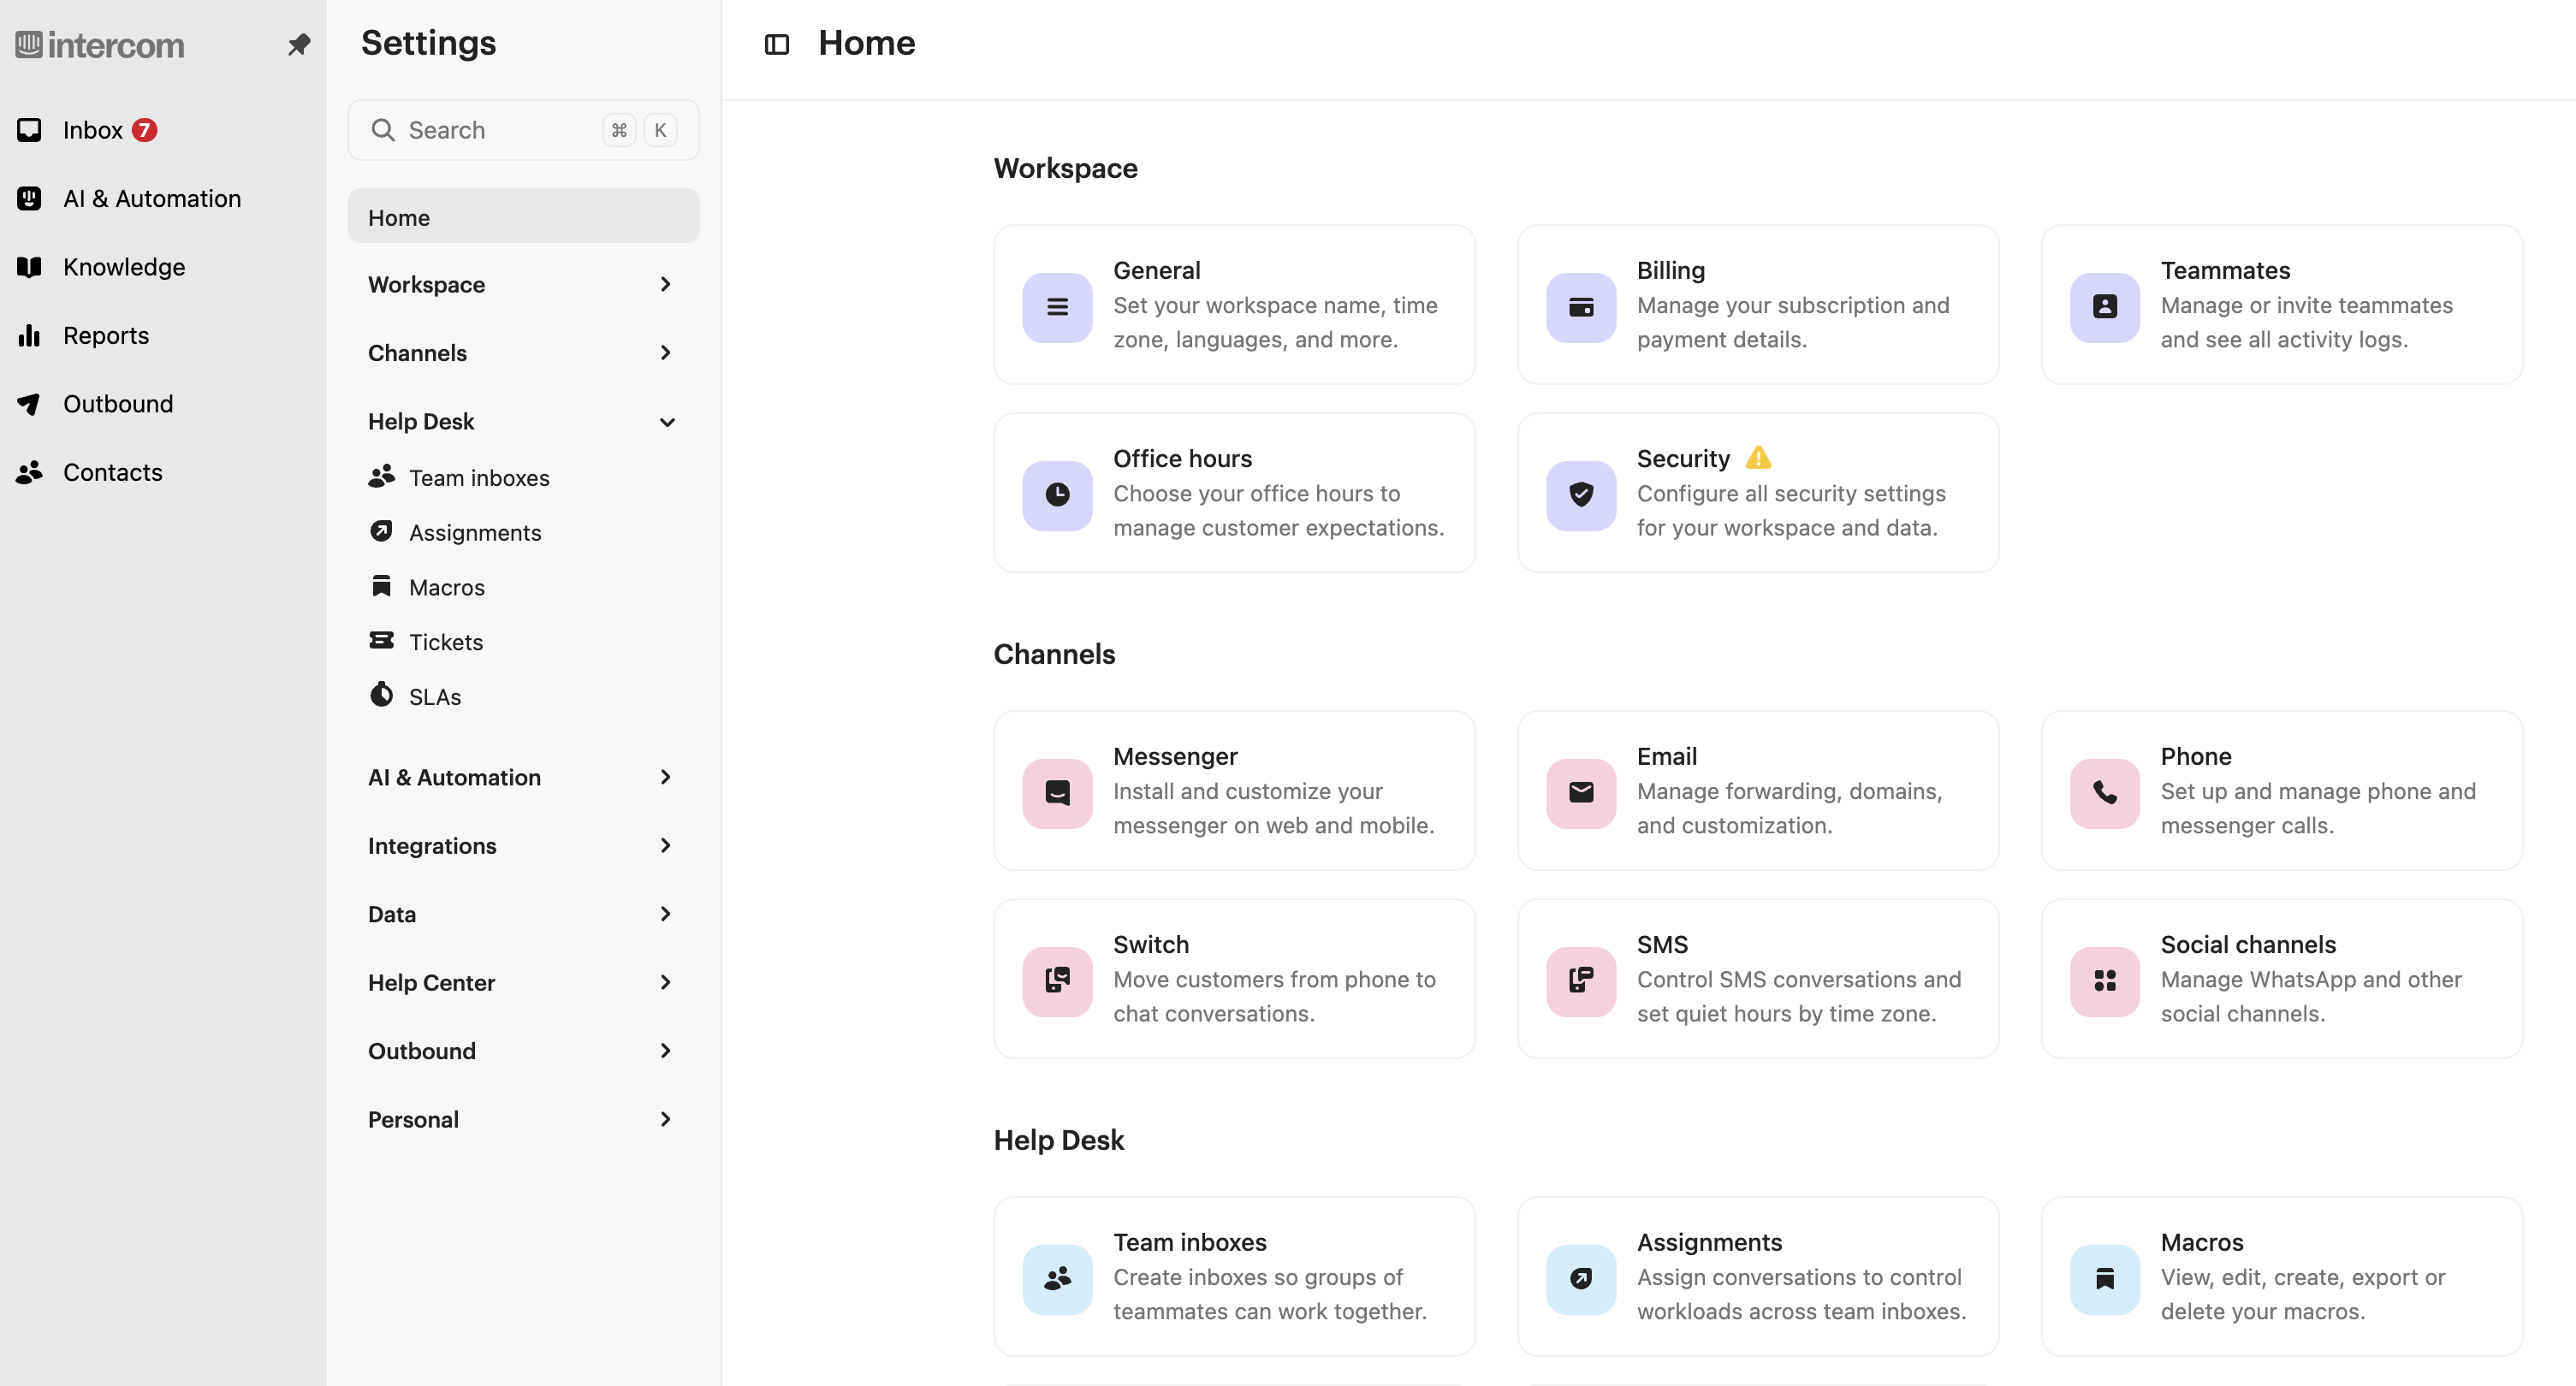
- Log in to your Intercom account
- Click on the Settings button from the bottom left panel
- From the Settings page, click on Macros button in the Help Desk section
-
- Click on + New Macro button present at the top right
- Fill in the name of the macro and add a response that you would like to send to the user when the conversation is handed back to Askribe
- Select Everyone from the Available for dropdown
- Select Replying from the Available when dropdown
- After you set up everything your screen should look like this:
-

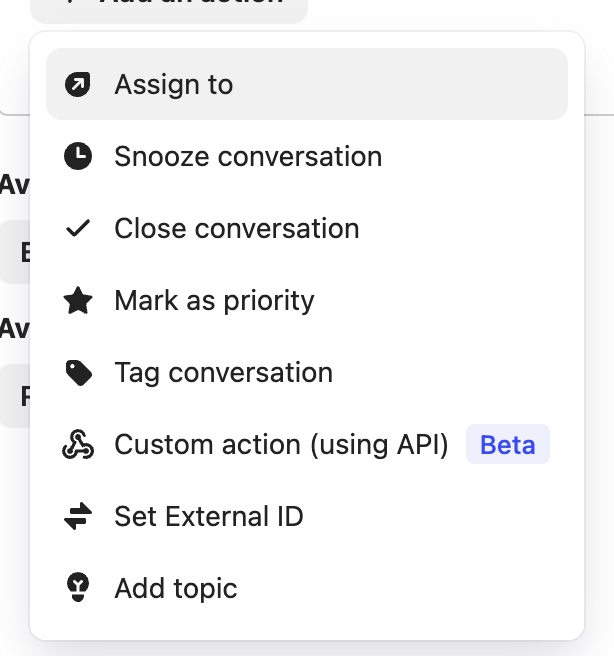
- Before you click on Save, click on Add an action
- Select Custom Action (using API) from the dropdown
-
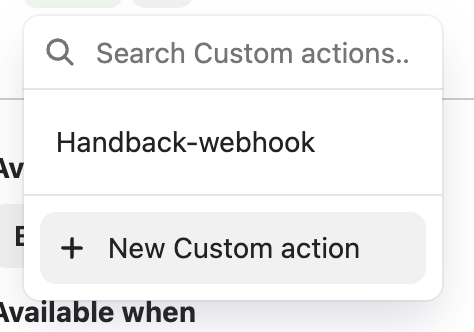
- Select + New Custom Action from the dropdown
-
- This will take you to the Custom Actions screen. Click on Create Action and then on Create Custom Action button from the top right
-
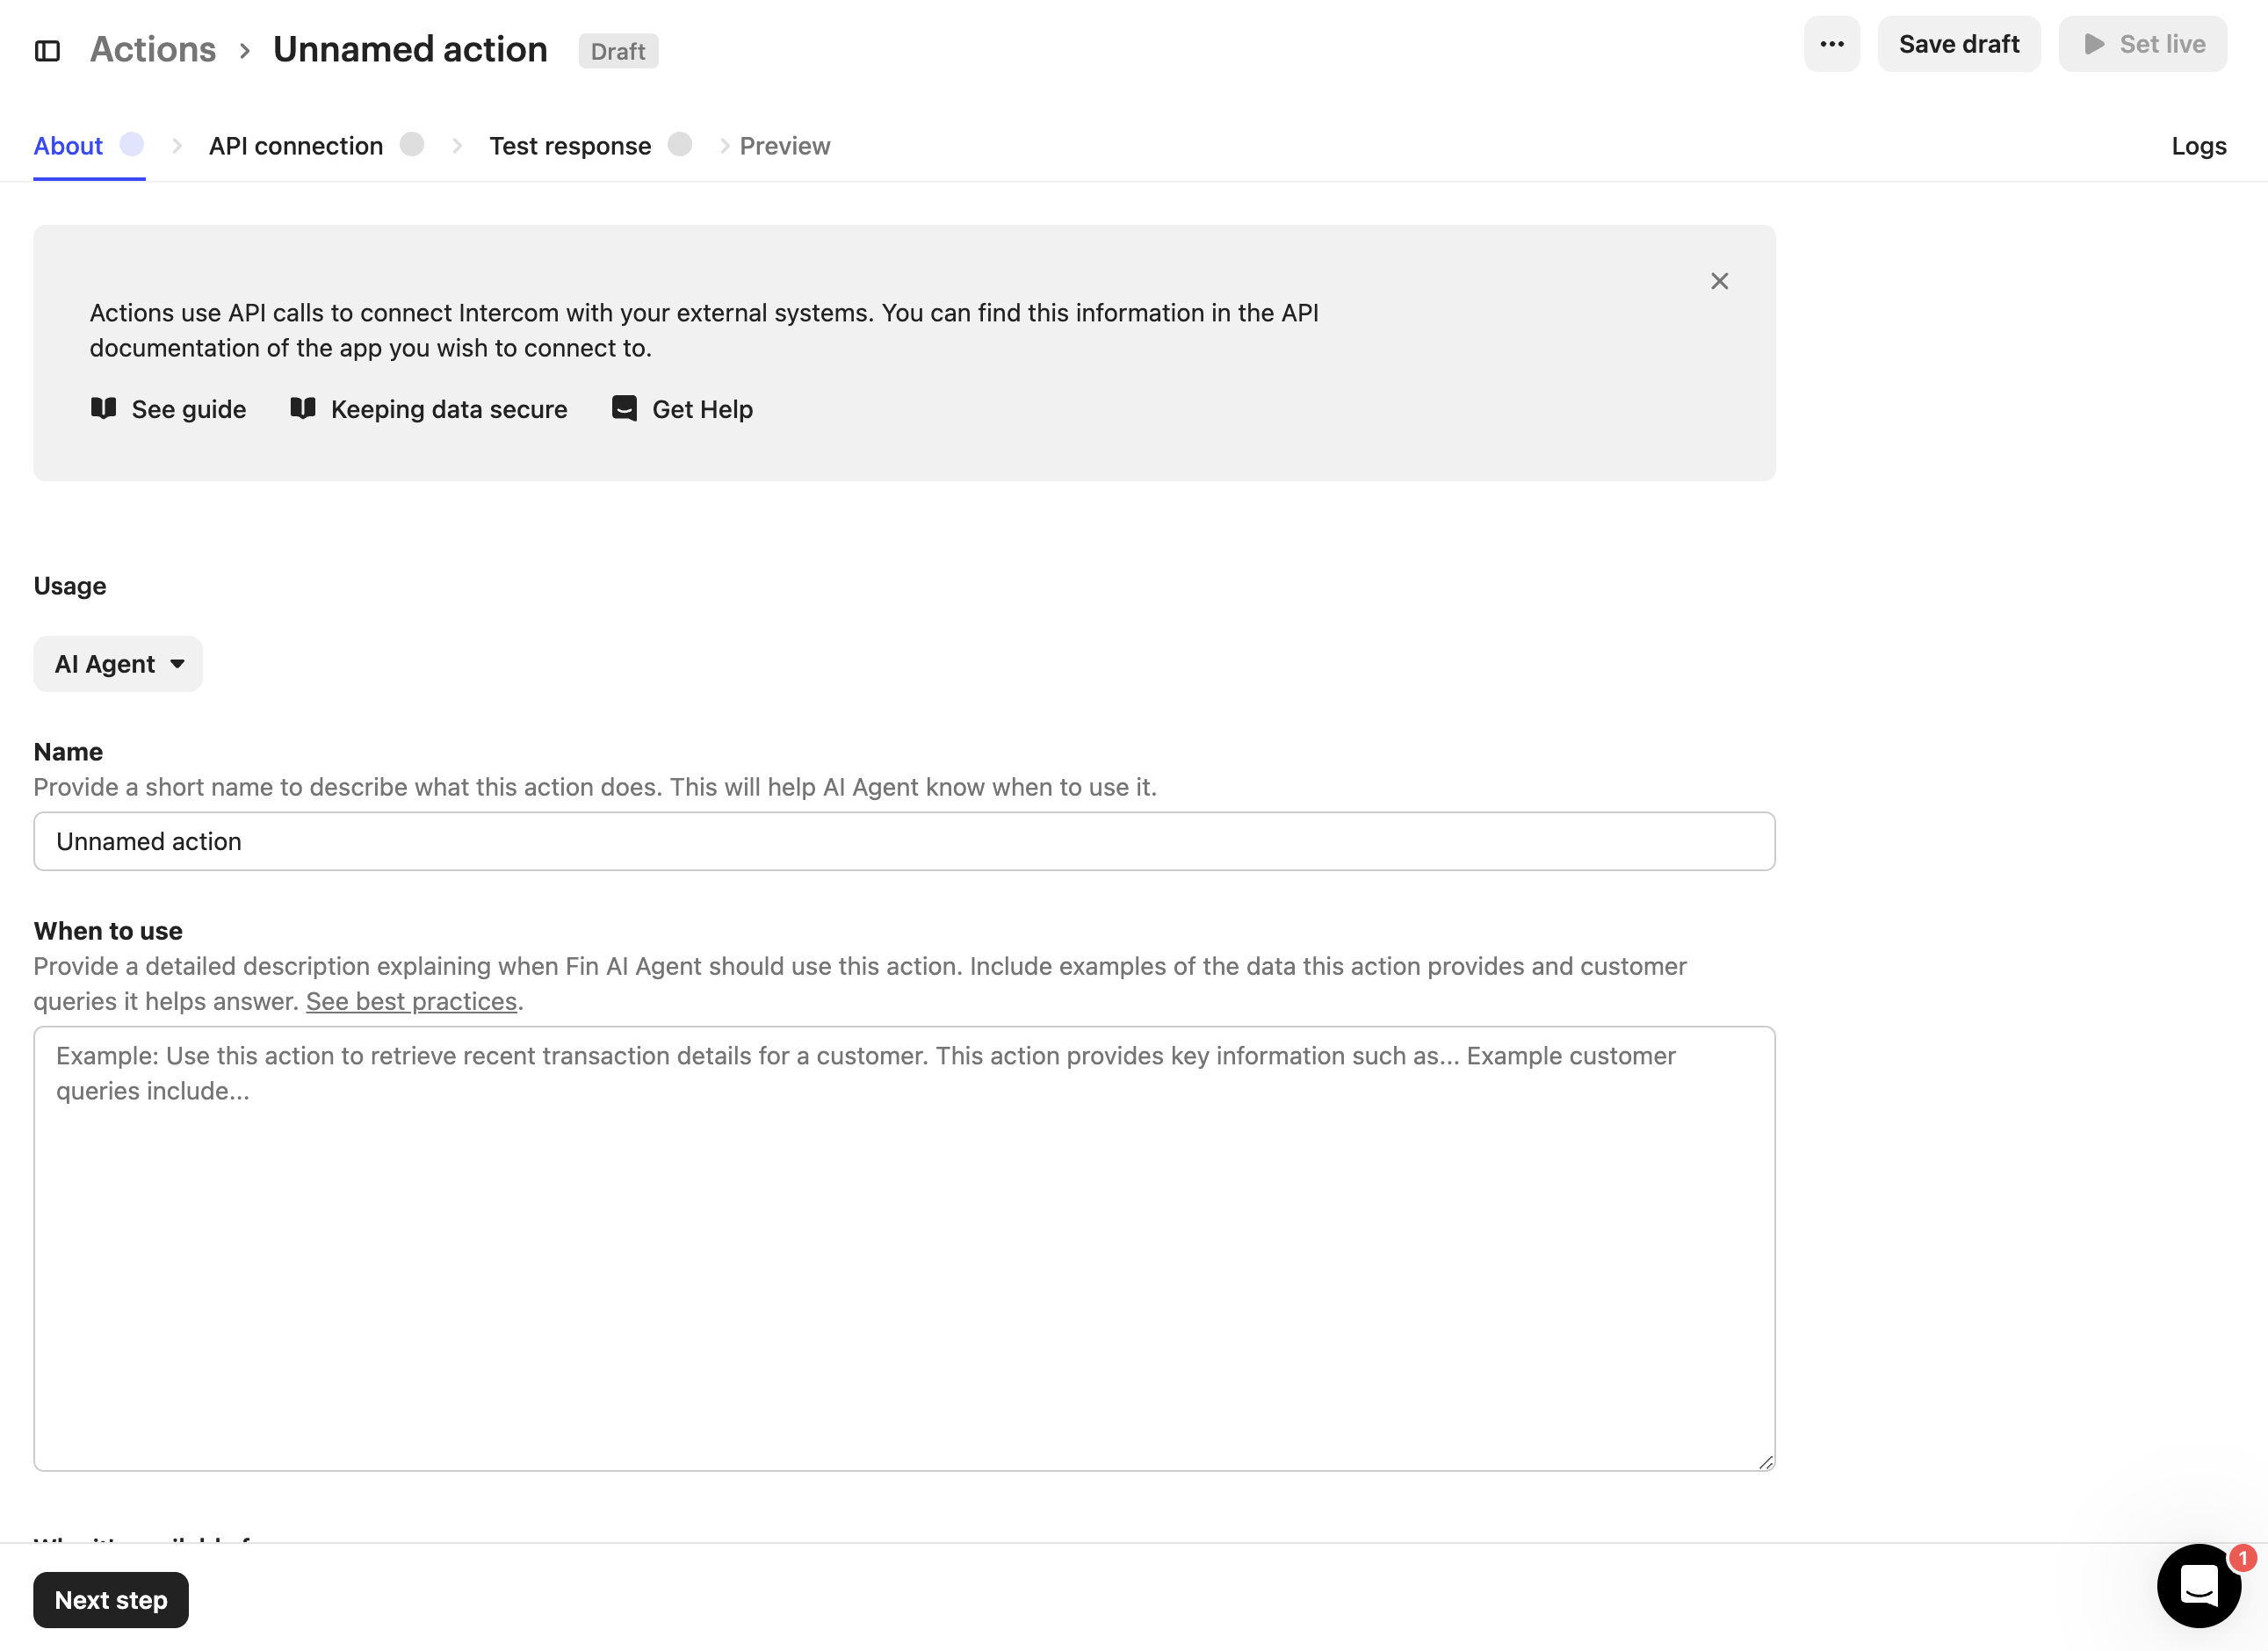
- Select Workflows and Help Desk from the Usage dropdown
- Give a name and description for your custom action and click on Next Step
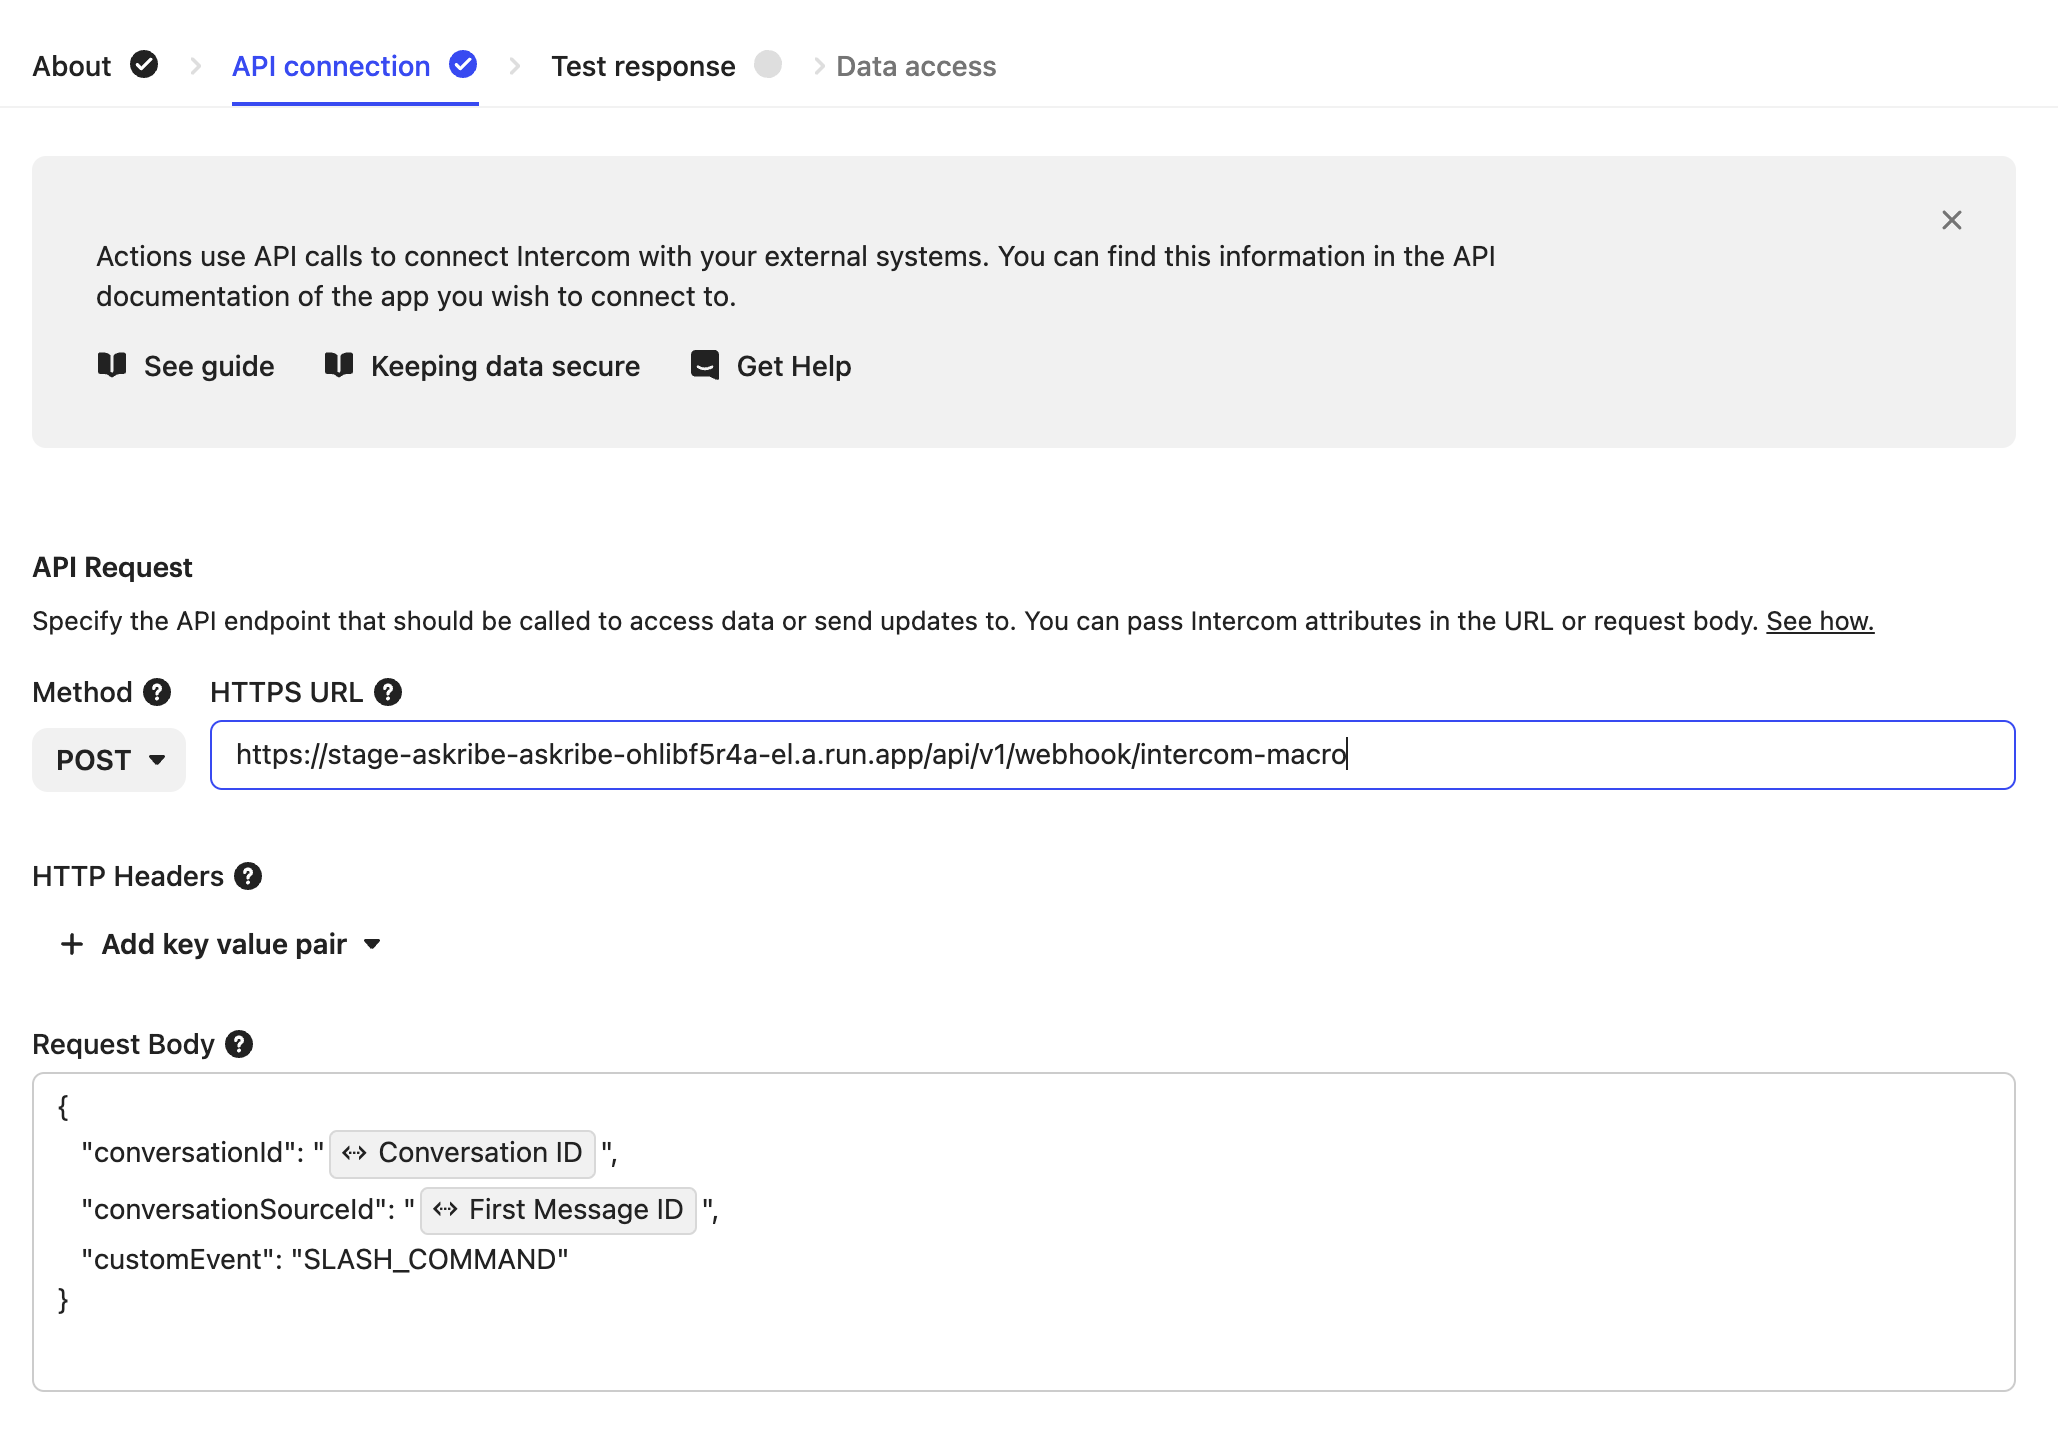
- This will open the API connection panel
- Here select POST from the Method dropdown
- In the URL field, enter the following URL:
https://stage-askribe-askribe-ohlibf5r4a-el.a.run.app/api/v1/webhook/intercom-macro
- In the Request Body section, add the following:
{
 "conversationId": "<Select 'Conversation ID' from the intercom attribute values>",
 "conversationSourceId": "<Select 'First Message ID' from the intercom attribute values>",
 "customEvent": "SLASH_COMMAND"
} - If you have set up everything correctly, you should see the following screen:
-
- Click on Next Step
- This will take you to the Test Response screen. Enter any dummy values and click on Test Request
- Click on Save and set live
- Now return to the Macros page and select your newly create Custom Action.
- Click on Save
- That's it! You have successfully configured the macro to hand the conversation back to Askribe.